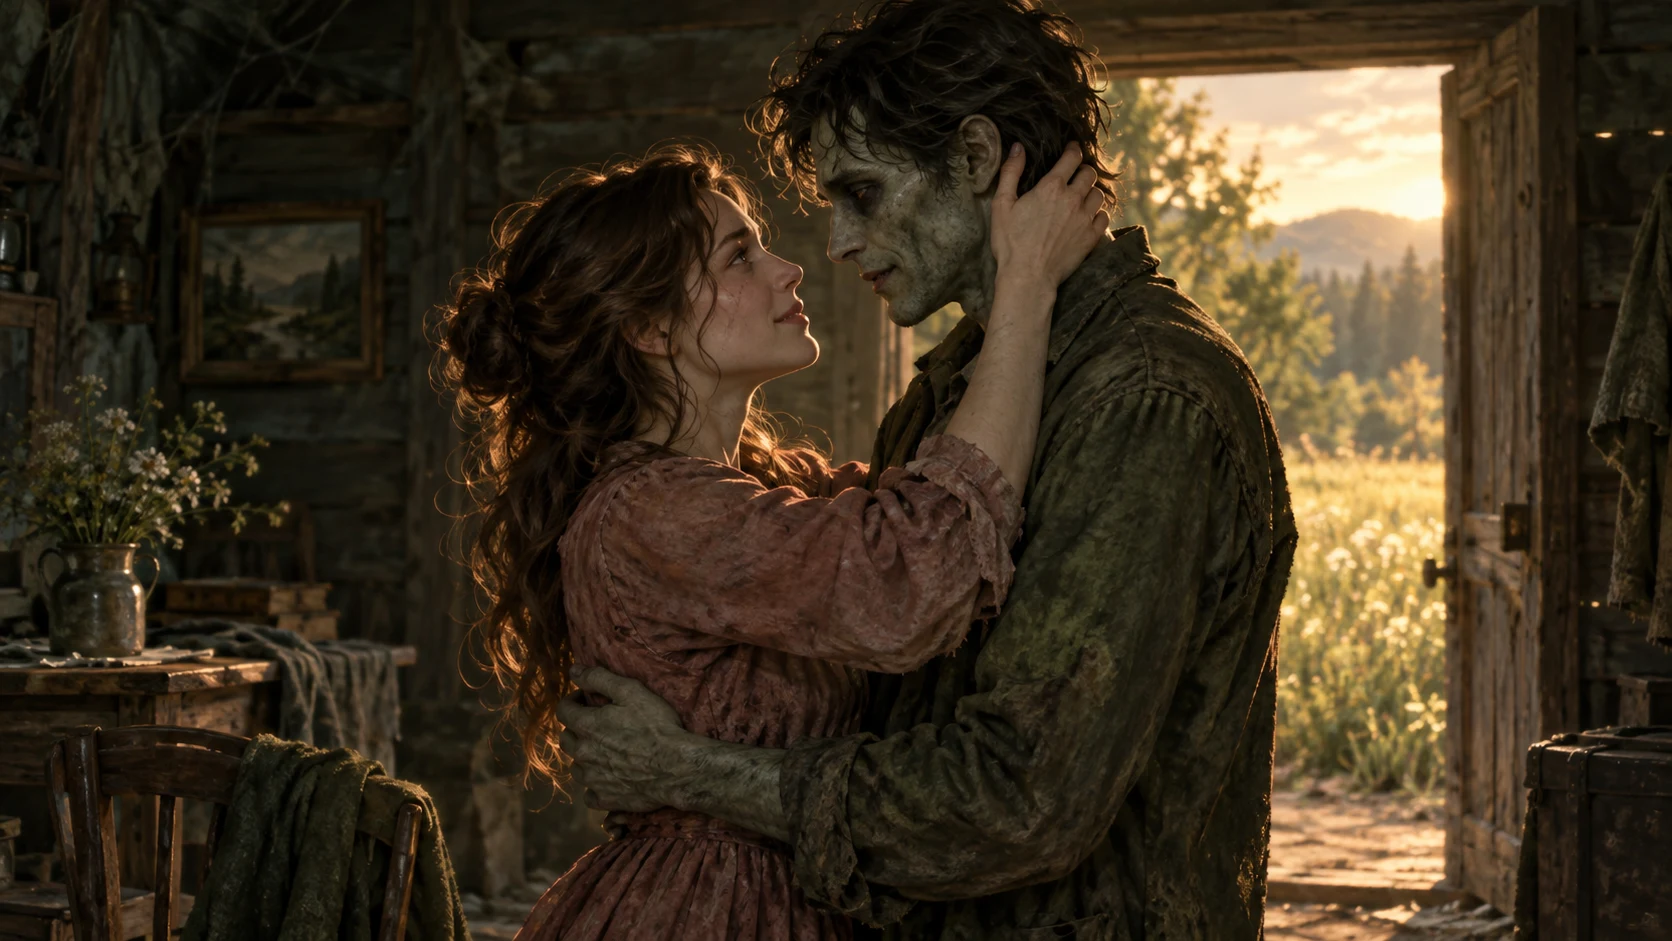
Photo tutorial
How to Make an AI Zombie Couple Video With Your Own Photos
Choose portraits, assign roles, pick a scene and check credits. Follow the AI Zombie Couple workflow from upload to download.
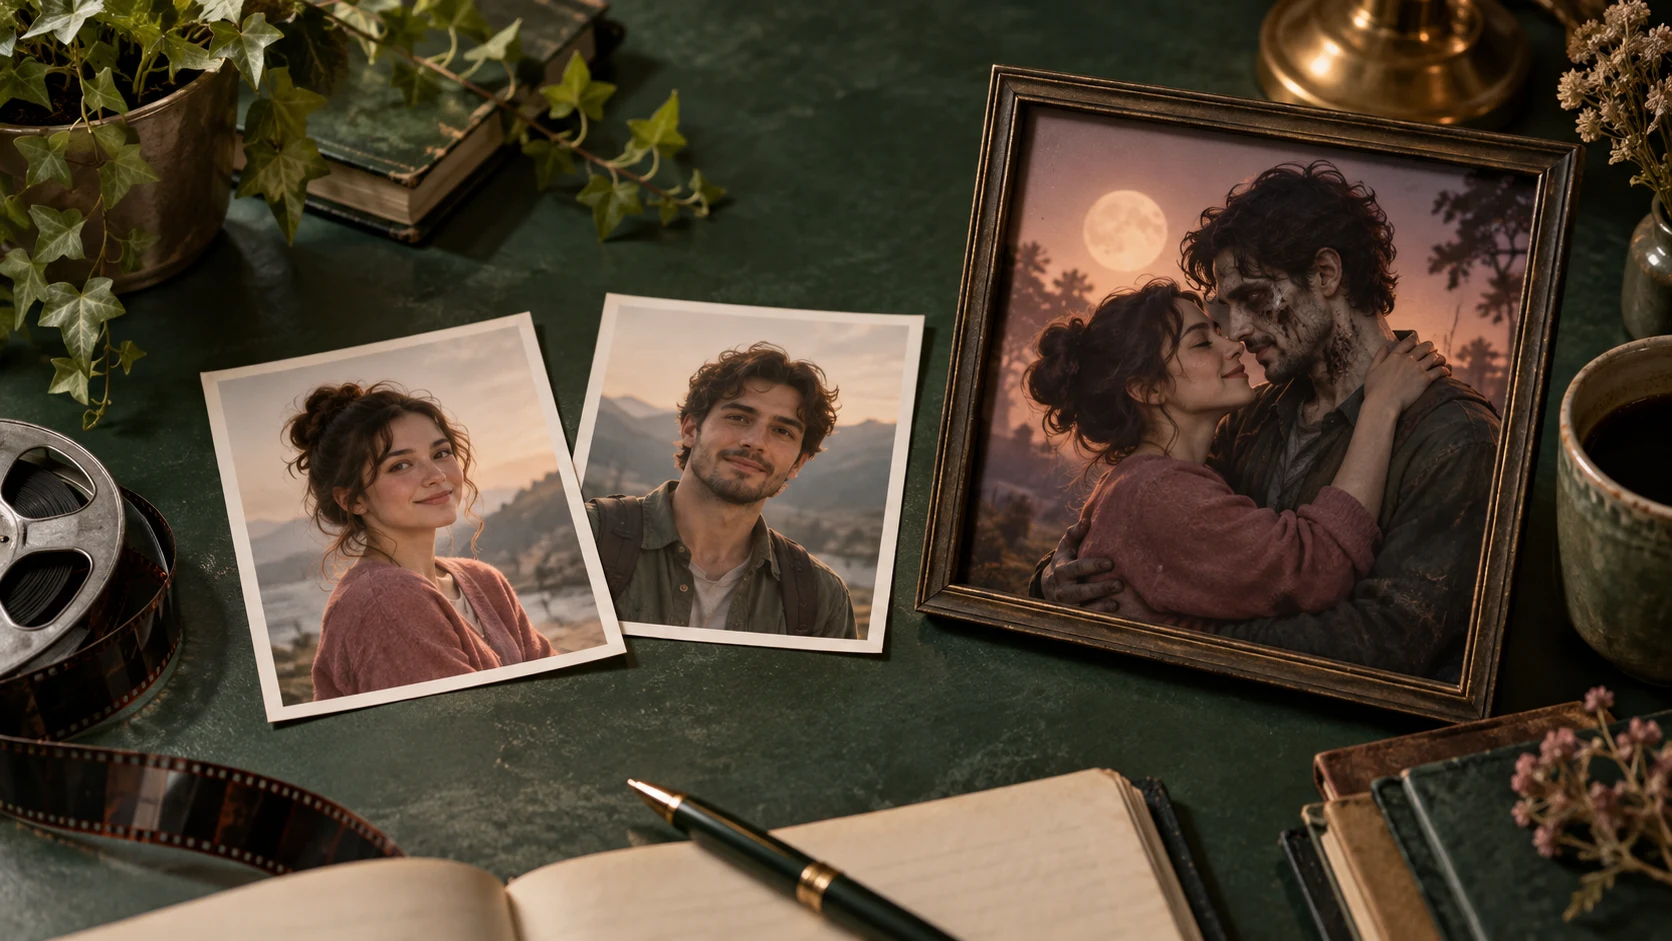
To make an AI zombie couple video, choose a story, add one portrait of each adult, select the format and quality, and check the credit estimate before clicking Generate video. Your photos upload automatically after sign-in. When the video is ready, watch it in Output or find it in My creations.
You do not need a couple photo, a scene photo or zombie makeup. The built-in story gives the AI its setting and action. This guide follows the controls in the AI Zombie Couple generator.
Step 1 — Choose the ending you want
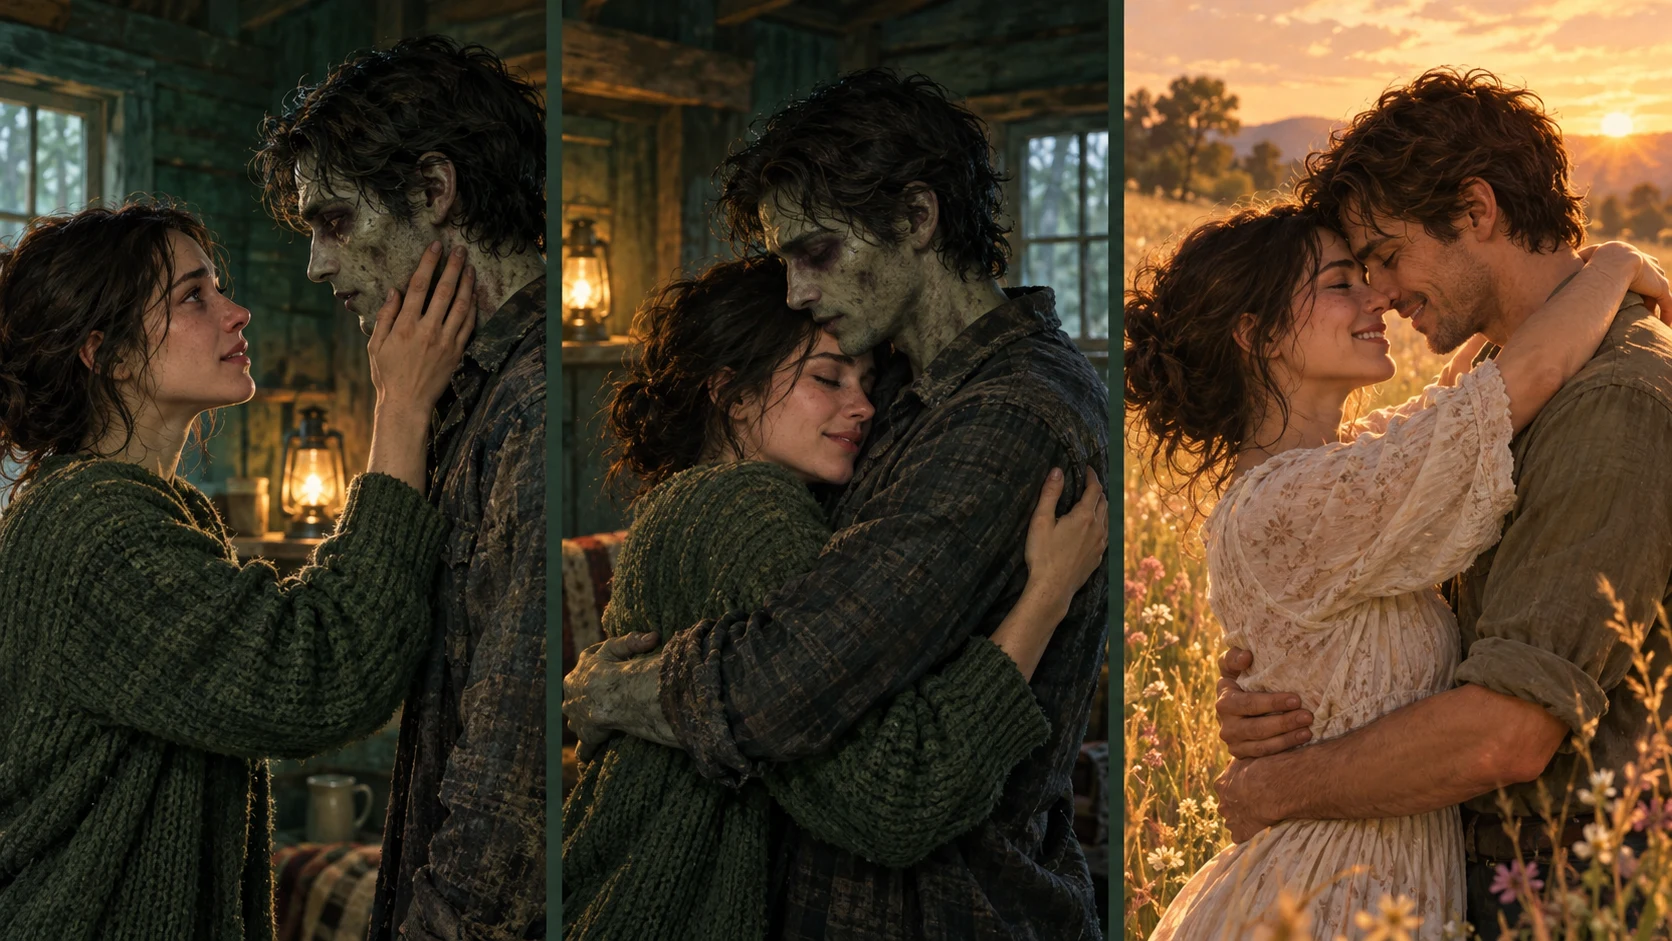
Select Human & Zombie for a reunion between a human and their zombie partner, followed by an earlier memory where both are human. Its scene is Embrace & memory.
Select Zombie Lovers if you want both partners to remain zombies. You can choose Last dance, Garden date or Rainy walk. These scenes focus on one affectionate gesture without a flashback.
If you are unsure, read the story-style explanation. Decide on the story before adding optional details; that keeps the request focused.
Step 2 — Pick two clear portraits
Use one adult per image. Look for visible eyes and facial features, good focus and reasonably even lighting. Avoid sunglasses, hands covering the face, group photos and strong beauty filters.
Each image must be JPG, PNG or WebP and no larger than 10 MB. The two pictures can have different backgrounds. There is no need to combine them into a collage or edit either person into a zombie first.
| Better starting point | Less useful starting point |
|---|---|
| One clearly visible face | Several people in the same photo |
| Sharp image with balanced light | Heavy blur or a face lost in shadow |
| Face mostly unobstructed | Sunglasses, a mask or a hand over the face |
| Natural facial detail | A strong filter that changes facial structure |
Use your own photos or photos you have permission to use. A portrait provides an identity reference; it does not lock the generated face, clothing or background exactly to the original.
Step 3 — Put each person in the right role
In Human & Zombie, place the person who stays human in Human partner, and the person who becomes the zombie in Zombie partner. The zombie partner is intended to appear healthy again in the closing memory.
Use Swap roles if the portraits are the wrong way around. In Zombie Lovers, both people receive zombie styling, so there is no human-only role.
Sign in to upload the selected photos. Uploading and checking the credit quote happen automatically; there is no separate Prepare step. Wait until the upload and quote are ready before generating. If an upload fails, use the retry option or choose the image again.
Step 4 — Choose format, length and resolution
9:16 gives you a vertical frame for a phone-oriented video. 16:9 gives the setting more horizontal room. Choose based on where you expect to show the clip and how much of the environment you want around the couple.
Both story types offer 10 or 15 seconds. Ten seconds costs fewer credits. Fifteen seconds gives the intended recognition, gesture and closing moment more time, although AI still determines the exact pacing.
Choose 480p for a lower-cost attempt or 720p for higher-resolution output. Resolution changes pixel detail; it does not guarantee a closer facial match or a different story result. New generations include generated audio. A Sample video's soundtrack is not a promise of the sound your result will use.
| Duration | 480p | 720p |
|---|---|---|
| 10 seconds | 60 credits | 100 credits |
| 15 seconds | 90 credits | 150 credits |
These are the current generation prices. Check the live estimate after your uploads and settings are ready.
Step 5 — Add a small personal detail, if you want one
Personal touch is optional and accepts up to 400 characters. Leaving it empty uses the built-in story direction.
For a garden date, you could try:
Matching dark green coats, one small white flower, warm lantern light.
For a rainy walk:
A dark blue umbrella, burgundy scarves, soft reflections on wet pavement.
These details ask for styling within the selected scene. Adding extra characters, several new locations or a different ending can conflict with the main story. A short note is usually easier to keep consistent than a second full script.
Step 6 — Check your credits and generate
Review the quote and your balance, then click Generate video when the button is ready. If you need credits, use Get credits to compare the available packs or plans.
There are no free signup credits or monthly free-credit allowances. A one-time purchase does not start a subscription. For example, the $6.90 pack contains 150 credits, enough for one 15-second 720p video. The $9.90 pack contains 350 credits, enough for two of those videos with 50 credits remaining. See pricing for the current options.
Generation time can vary. If the page disconnects or a status check fails, look in My creations before submitting another request. A connection error does not necessarily mean the generation stopped.
Step 7 — Review and download your result
Watch the completed video in Output, or open My creations to find it later. Downloads are available to accounts that have purchased a credit pack or paid plan.
Before sharing, check both faces in the opening and ending, the assigned human/zombie roles, hands during the embrace or gesture, and the sound. For Human & Zombie, check that the closing memory contains the same two characters with human appearances.
Download the result you want to keep. If you plan to add captions or replace the sound, do that in your preferred editor after reviewing the original clip.
Common problems and what to try
| Problem | What to do next |
|---|---|
| A photo will not upload | Check its file type and 10 MB limit, then retry the upload. |
| The wrong person is the zombie | Check the two role slots before generating again. |
| A face looks different | Try a sharper, less obstructed portrait and remove conflicting styling details. Exact likeness is not guaranteed. |
| The memory transition is different from the Sample | The Sample illustrates a story. Generated shots, timing and transitions can vary. |
| The page lost connection | Check My creations for the existing task before starting another. |
| The job is marked failed | Charged credits are returned for failed generation jobs. A completed video that differs from your creative preference is not automatically treated as a failed job. |
Start with your two portraits, or inspect our input photos and test video before choosing your settings.